Ceiling fans are back in style! They’re an energy-efficient and cost-effective way to stay cool in the summer and warm in the winter. Today’s ceiling fans come in a range of modern and attractive designs, and they incorporate technology like dimmable lights, Bluetooth and wifi connectivity, and remotes or wireless wall controls.
If you want to jump on the ceiling fan bandwagon, it’s not hard to put one in yourself. Just follow these steps and you’ll be enjoying cool breezes in just a couple of hours.
Turn Off the Circuit
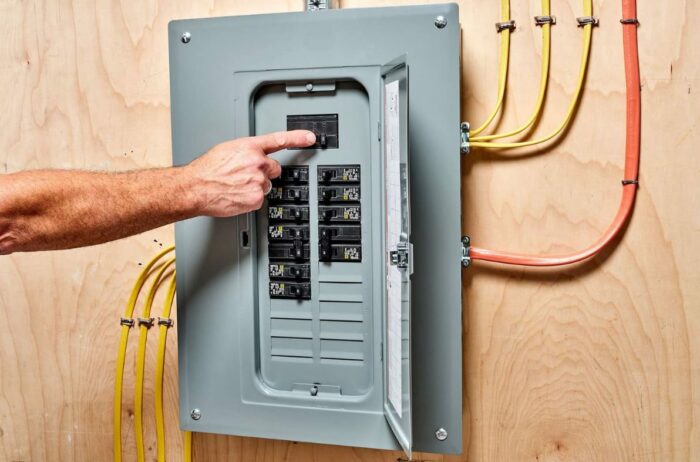
Installing a ceiling fan is a straightforward wiring job, and you need to shut off the power to the circuit you’ll be working on before you start. Figure out what circuit the new fan will be on and cut the power at the circuit breaker box.
Uninstall the Light Fixture
To uninstall the light fixture, take off the glass globe or light bulb covers and remove the light bulbs. Loosen the screws in the base of the light fixture. These attach the light fixture to the electrical box in the ceiling.
Once the screws are out, pull on the light fixture. It should come away from the ceiling, and reveal the wiring connections. Pull off the plastic wire nuts, then disconnect the wiring and put the old light fixture to one side.
Switch Out the Electrical Junction Box in the Ceiling
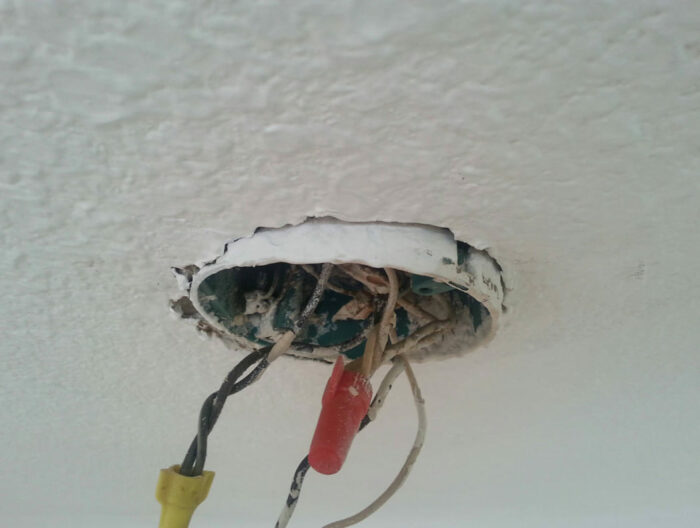
In order to safely install a ceiling fan, you’re going to need to make sure that you have anchored it to a fan-rated pancake electrical box that is securely fastened to the joist in your ceiling.
Pry the old electrical box off the joist with a pry bar. Attach the new electrical box directly to the joist. If the fixture was installed between joists, you can put a metal fan brace in the ceiling that will anchor into the joists on either side and provide a sturdy support for your ceiling fan.
Secure the Ceiling Plate to the Junction Box
The ceiling mounting plate should come with screws to attach it to the electrical box. Consult your fan’s assembly instructions in order to make sure you’re installing the ceiling plate correctly.
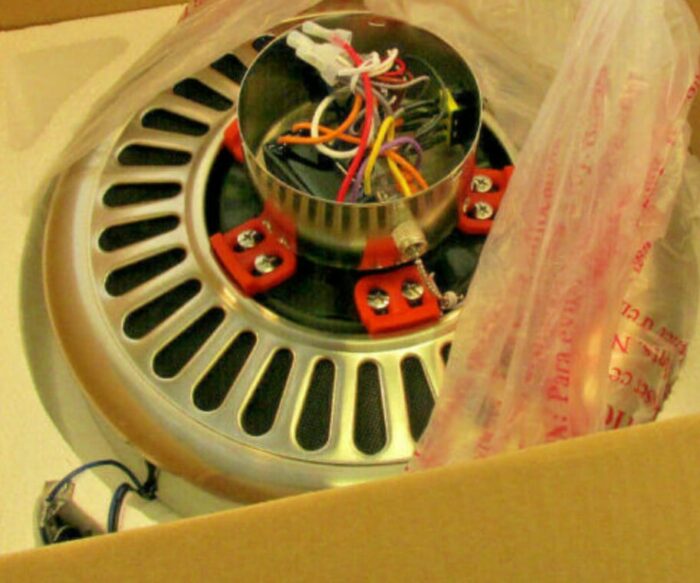
Attach the Downrod and Canopy to the Fan Motor
Again, consult the assembly instructions that came with your fan to make sure you’re putting the fan together correctly, but for most fans, the downrod should screw into the top of the fan motor housing and there should be a locking nut that you can turn to secure it.
Pull the wires from the fan motor housing up through the downrod and attach the fan canopy to the downrod. For flush mount ceiling fans that don’t have a downrod, you can follow your fan assembly instructions to attach the fan canopy directly to the fan motor.
Secure the Fan Motor to the Ceiling
There should be a hook on the ceiling mounting plate that will allow you to hang the fan motor from the mounting plate while you use both hands to connect the wiring together.
You should have three wires coming out of your fan and three coming out of your ceiling: a black one, a white one, and a green or bare one.
The green or bare wire is the ground, and the bare end should be wrapped around the green grounding screw in the electrical box before being connected to the ground wire coming out of the fan.
The black wire should connect to the black wire and the white wire to the white wire. Use wire nuts to secure the connections.
Gently push the wiring connections back up into the electrical box. Push the fan motor into position and use your fan’s instructions to fasten the downrod and fan canopy to the ceiling plate.
Read also: Cool Types of Ceilings
Put Together the Rest of the Fan
Now, all you have to do is install the fan light fixture and attach the blades to the fan. Some ceiling fan lights simply plug into the fan motor, while others need to be wired up the same way the fan motor itself was.
Once you have connected the light, put on the bulb covers and install the bulbs. For the blades, screw the blade brackets to the blades first, and then screw them to the fan motor housing.
If your fan came with a wireless wall control, attach it to the wall using your fan’s instructions. Now you’re ready to turn the power back on and start saving money with your new ceiling fan.